It’d be nice if freelance jobs went like this:
Find clients who need work. Do the work. Get paid.
Unfortunately, it hardly ever looks like that. There are often a ton of other steps involved.
One of the peskiest steps, especially for solopreneurs, is the project approval process. This is the step in which you submit your work at a milestone and wait for the client to sign off on it before you continue working.
It’s necessary because it ensures that your client approves of the direction of the project and is willing to pay for it. But, if you have a particularly busy client who doesn’t have the time to review your project proposals, you can end up waiting for days (or even weeks) for their approval.
As an independent contractor, you don’t have time for that!
Hopefully, with our guide, you’ll never have to sit around waiting for your clients again.
What You’ll Learn
What is a Project Approval Process
How to Create a Formalized Project Approval Process
Sample Freelancer Project Approval Process
Why Freelancers Should Have a Formalized Project Approval Process
How to Optimize Your Approval Process
Let’s discuss how to build an efficient project approval process. We’ll learn why you need one, what it should look like, and what tools you can use to manage the process.
What Is a Project Approval Process?
A project approval process is a set of steps that freelancers use to get “buy-in” from their clients on a project or milestone.
As an independent contractor, you usually need to have projects approved before you can begin them. You might also need to get approval once or twice during the project to ensure that you’re on the right track.
Unfortunately, waiting for other people can throw a wrench into your workflow. Particularly if you have to wait for multiple team members to okay your work, the whole process can mess up your schedule.
Let’s say you’re a freelance photographer, and you’re hired to shoot a bunch of product photos for an ad campaign.
Instead of having you shoot the entire series at once, the company wants to make sure that they like the concept you’re running with. So, they might have you shoot a few photos to give them a rough idea of what the campaign is going to look like.
You’ll send them a few unedited pictures to review and, if they like the idea, they’ll sign off on the milestone and let you continue.
The next milestone might be unedited versions of the entire series, and the last milestone would be the final, retouched photos.
At each step along the way, you’d have to wait for each person on the project team to approve your work. Depending on the size of your client’s company and the number of project sponsors, this could be anywhere from one to a dozen team members.
That’s a lot of people that you have to wait for, especially if you’re busy and you want to complete the project as fast as possible.
How to Create a Formalized Project Approval Process

Not all freelancers have a formalized approval process. For some folks, the “process” just looks like this:
- Throw a bunch of attachments into an email draft.
- Say, “Hey, here’s what I’m working on. Let me know if you like it before I move on.”
- Send the email to everyone involved in the project.
- Hope that they see it and respond in a timely manner.
That’s one way to do it. But it’s definitely not the best way.
A good approval process is more structured. All of the files are kept in one place, stakeholders are clear on what they’re looking at and the type of feedback they should be giving, and deadlines are set to ensure everyone responds on time.
Depending on which industry you work in, your process will look different than the next person’s.
But no matter who you are, when developing your process, you should ask yourself the following questions:
How Will You Submit Work?
No matter what field you work in, don’t rely on email as your main project management tool. There are much better options out there.
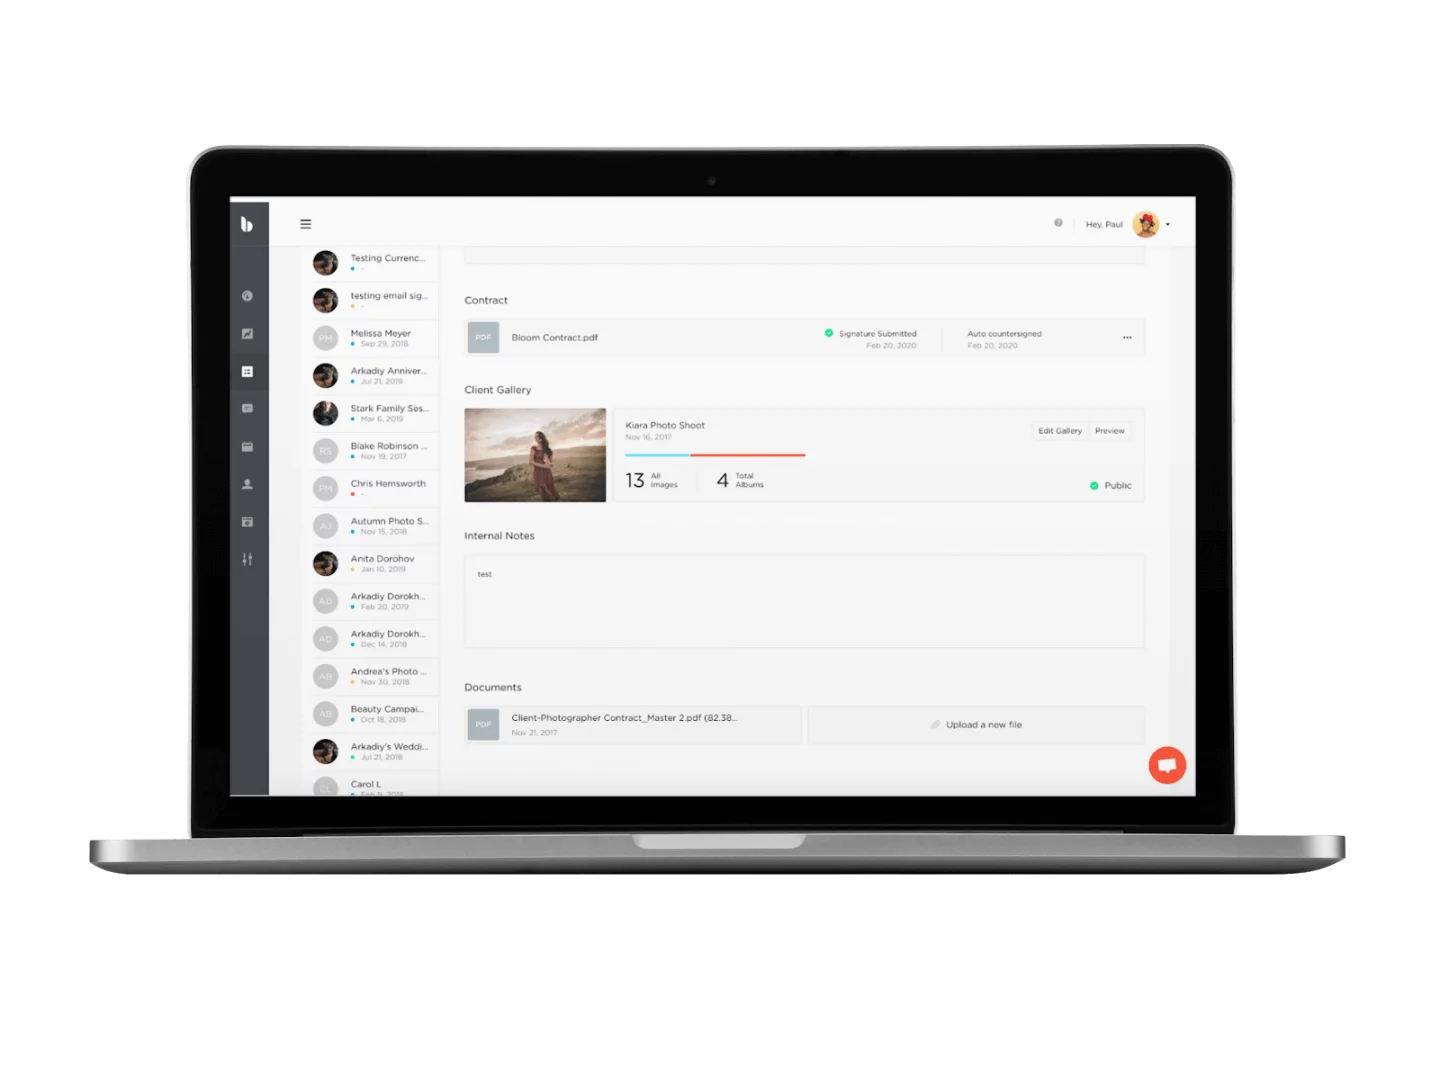
By using a CRM software program, you can keep all of your deliverables in one place. All you have to do is give your clients access to the program, submit your projects there, and monitor for their response.
It helps you and your client stay organized, which keeps the process moving. When everyone knows where to find the files without having to dig through their emails, the project schedule stays on track.
Try out our all-in-one creative business management software for free!
How Many Times Will You Ask for Approval?
Some projects involve several milestones. Others only involve one or two.
While the decision is ultimately up to your client (they’re the ones paying for your services, after all), you should make recommendations.
For example, you might decide that you want all of your projects to have three project approval stages: one at the beginning, one in the middle, and one at the end.
And each stage might be accompanied by a payment: 25% down payment for the first approval, 25% for the second, and 50% upon completion.
Whatever you decide, make sure that you come to an agreement with the project manager before you start working. You should both have clear expectations as to when they’ll be involved in the process.
How Long Should Your Project Approval Process Be?
If you want to keep the project on track, make sure to set deadlines for the review team. Whether you give them three days, seven days, or fourteen days to approve your work, give them a clear due date.
That way, you’ll be able to get back to work ASAP.
When determining deadlines, figure out how long it will take you to complete each milestone. Be honest with yourself and give yourself enough time to do a good job. When in doubt, overestimate — the last thing you want to do is not give yourself enough time (and have to explain to your client why the work is late).
Sample Freelancer Project Approval Process
Every project approval process is different. But, here’s a general example of what it might look like:
1. Initial Proposal
Before you start working, you’ll have to give your client an idea of what you’re going to be working on.
During this stage, make sure that you set clear expectations. You should come to an agreement about what the proposed project is, what the deadlines are, who will be involved or need to sign off, and the approved budget.
Don’t move forward until you’ve both signed a contract outlining all of these things. That way, there won’t be any confusion about milestones, money, due dates.
Note: This step is usually longer than the rest because it may include the entire project planning process. There could be a lot of back and forth as you hash out the details.
2. Approval
Ideally, the client will approve your proposal and send you off to work.
However, they might have feedback on your initial proposal, which you should incorporate into your work.
They might also have questions about why you plan to approach the project the way you outlined in your proposal. Be prepared to explain your business case, or why approaching the project this way will add value to their company.
3. Work
This step should be self-explanatory. It’s time to get to work and show your client why they were smart to hire you!
4. First Milestone Submission
When you complete the first milestone, upload your work to your CRM of choice. Let the client know that it’s ready for review.

5. Client Response
The client provides feedback. Even if they like the work and think you’re doing a good job, they’ll probably have something to say about it.
Sometimes, multiple people will be involved. Other times, your contact person will speak for the whole group. Whatever the case, don’t continue until you’re sure that you have approval from everyone with decision-making power.
6. Editing
Incorporate any feedback or notes into the work. Be sure to take the client’s input to heart and incorporate everything they asked you to update.
7. Resubmission
Depending on the severity and amount of requested edits, your client may want you to incorporate their feedback and resubmit it before moving forward.
But if it’s just a few quick fixes, you’ll probably be able to change your work and move forward without resubmitting.
(Just make sure to clarify this with the client before you start working again.)
8. Repeat
Repeat these steps until you get the final approval on your last milestone. That’s it!
Why Freelancers Should Have a Formalized Project Approval Process
As we discussed before, not everyone’s process looks like the one above. Some people have very sloppy review processes that mainly consist of disorganized emails bouncing back and forth.
An organized process is a much better option, however.
Here’s why:
Looks More Professional
As a small business owner, you want to be taken seriously. But it’s hard for clients to see you as a professional if you rely on Gmail to organize your workflow.
If you have a strong project review process in place and — even better — use a CRM program to organize it, clients will be able to see that you know what you’re doing. Plus, they’ll appreciate that you have a protocol for involving them in the process (without them having to ask).
Offers the Client a Chance to Provide Input
It’s important to give your clients the opportunity to provide feedback. The work is theirs, after all, and the final product is going to reflect their brand (even more than your own).
When you’re outlining the project approval process for them, make sure that they know it’s a chance for them to give you input. This makes it into a more collaborative effort where they can feel involved.
Keeps Expectations Clear
Imagine if you spent months working on a project, only to find out when you finished it that you’d done it completely wrong?
That’s what we’re trying to avoid. The approval process is a way for the client to let you know that they’re happy with the work.
It’s also a way to prevent scope creep, which is when a client changes their expectations over time. By outlining the project and defining clear milestones ahead of time, you won’t have to worry about the client adding requirements after you’ve already begun working.
How to Optimize Your Approval Process
Want to build the most efficient process possible?
Here are some crucial tips to remember:
Establish End Goals from the Beginning
When working with your client to draft up a plan, make sure to set clear expectations.
- What will the completed project look like?
- What will it accomplish for their business?
- How much money will it cost them?
It’s important to iron out these details beforehand to ensure that you’re both happy in the end.
Set Strict Deadlines
Your client will most likely have a deadline, and you should respect that. But you should also set deadlines for them.
And don’t be afraid to reach out if they’re late to keep the process going. You’re a busy solopreneur; if you sat around waiting for everyone, you’d never get anything done!
Use a CRM/Task Management Program
Email approvals only lead to delays, especially when multiple approvers are involved. It can take days to get a response from one team member, but five team members is a whole ‘nother story.
With the entire project portfolio in one app, each stakeholder can just log on, approve the milestone, and leave you to work.
Related: The 5 Best CRM Apps for Photographers
A solid approval process makes life easier for you and your clients. Not only will it speed up your workflow and help you keep the momentum going, but it also just looks professional.
And we know you’re a pro, so let your approval process reflect that!